Why Barndominiums Need Bigger Panels Than Traditional Homes
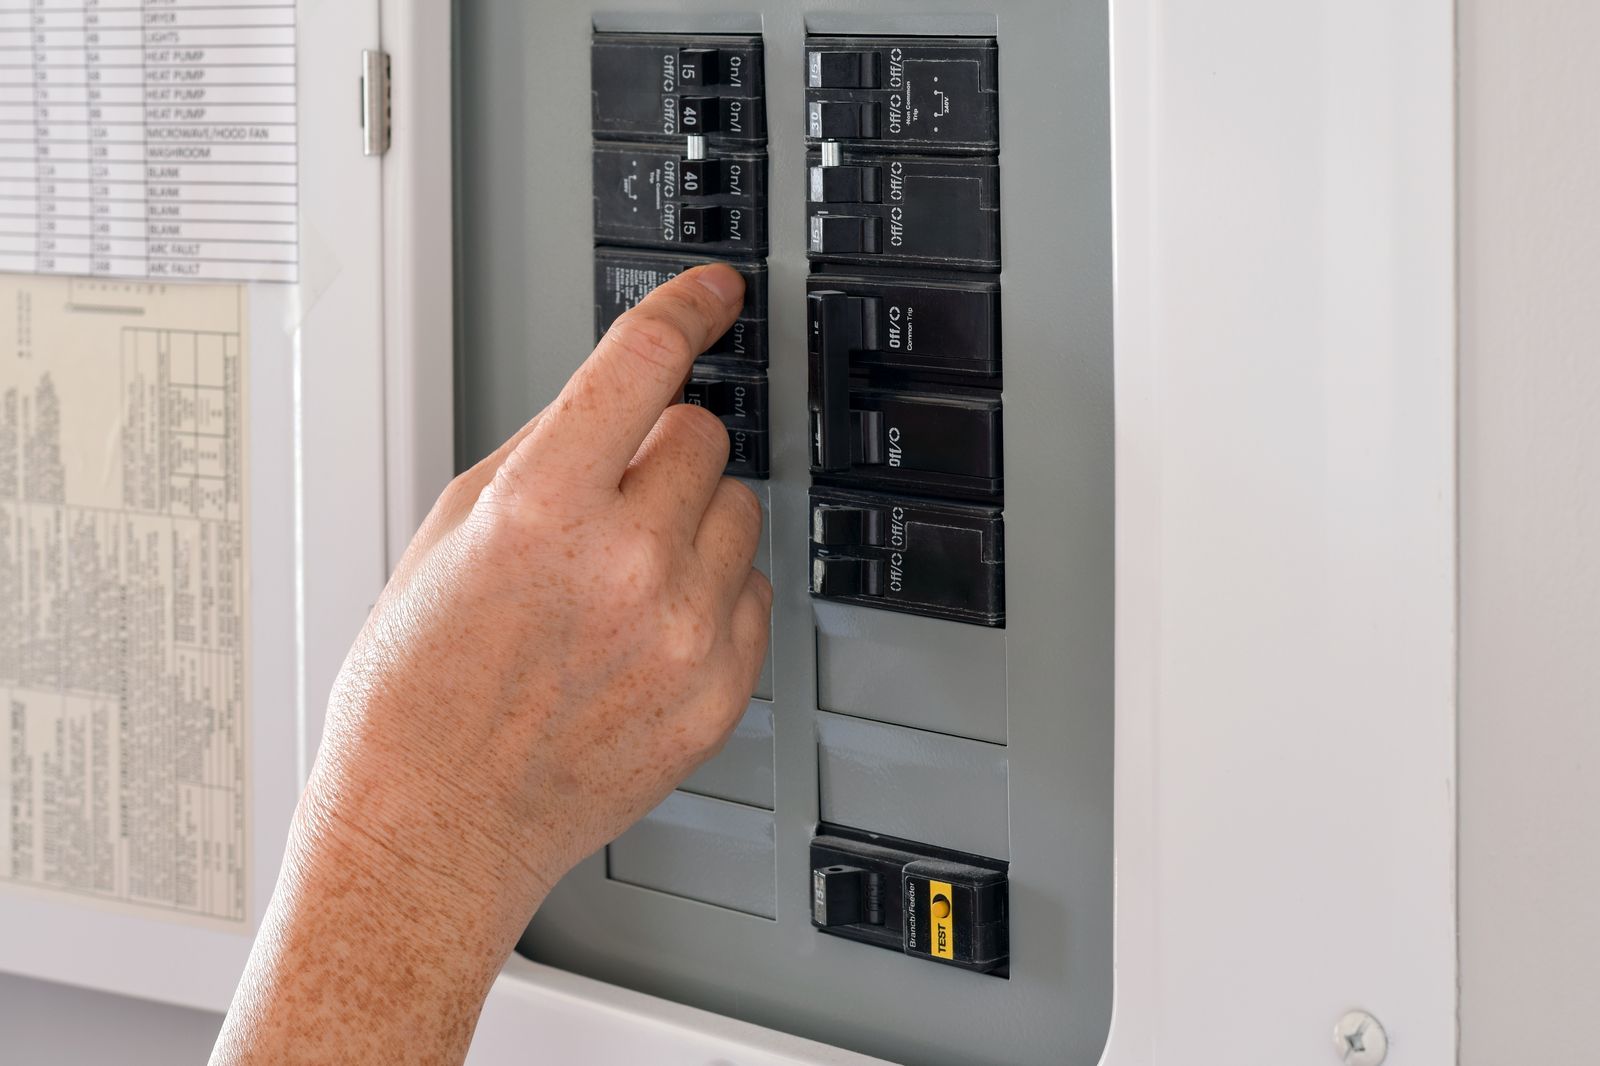
A conventional 200-amp residential panel works fine for a 2,000 sq ft house. But a barndominium with a shop bay, welder outlet, air compressor, and future EV charger? You'll blow past 200 amps before drywall goes up.
The mistake: Builders spec a standard 200A panel because "that's what code requires." Code is a minimum — not a recommendation.
How to Calculate Your Actual Load
Start with your non-negotiable shop loads:
- Welder (240V): 50A circuit — this alone is 25% of a 200A panel
- Air compressor (240V): 30A circuit
- Dust collection: 20A circuit
- EV charger (Level 2): 40–50A circuit
- Shop lighting + outlets: 20A per circuit, minimum 2 circuits
Now add residential loads:
- HVAC system: 30–60A depending on heat pump vs. furnace
- Electric range: 40–50A
- Electric water heater: 30A
- Dryer: 30A
- General lighting and outlets: 40–60A across circuits
The Math
Add your shop loads (150–170A) to residential loads (170–200A) and you're looking at 320–370A of potential demand. Even with demand factors applied, a 200A panel won't cut it.
The Right Panel Strategy for Barndominiums
- Minimum: 400A service with two 200A panels — one for the house, one for the shop
- Better: 400A service with a main distribution panel feeding sub-panels for house, shop, and mechanical room
- Best: 400A service with dedicated sub-panels per zone, plus a transfer switch location for future generator backup
Conduit Planning Before the Pour
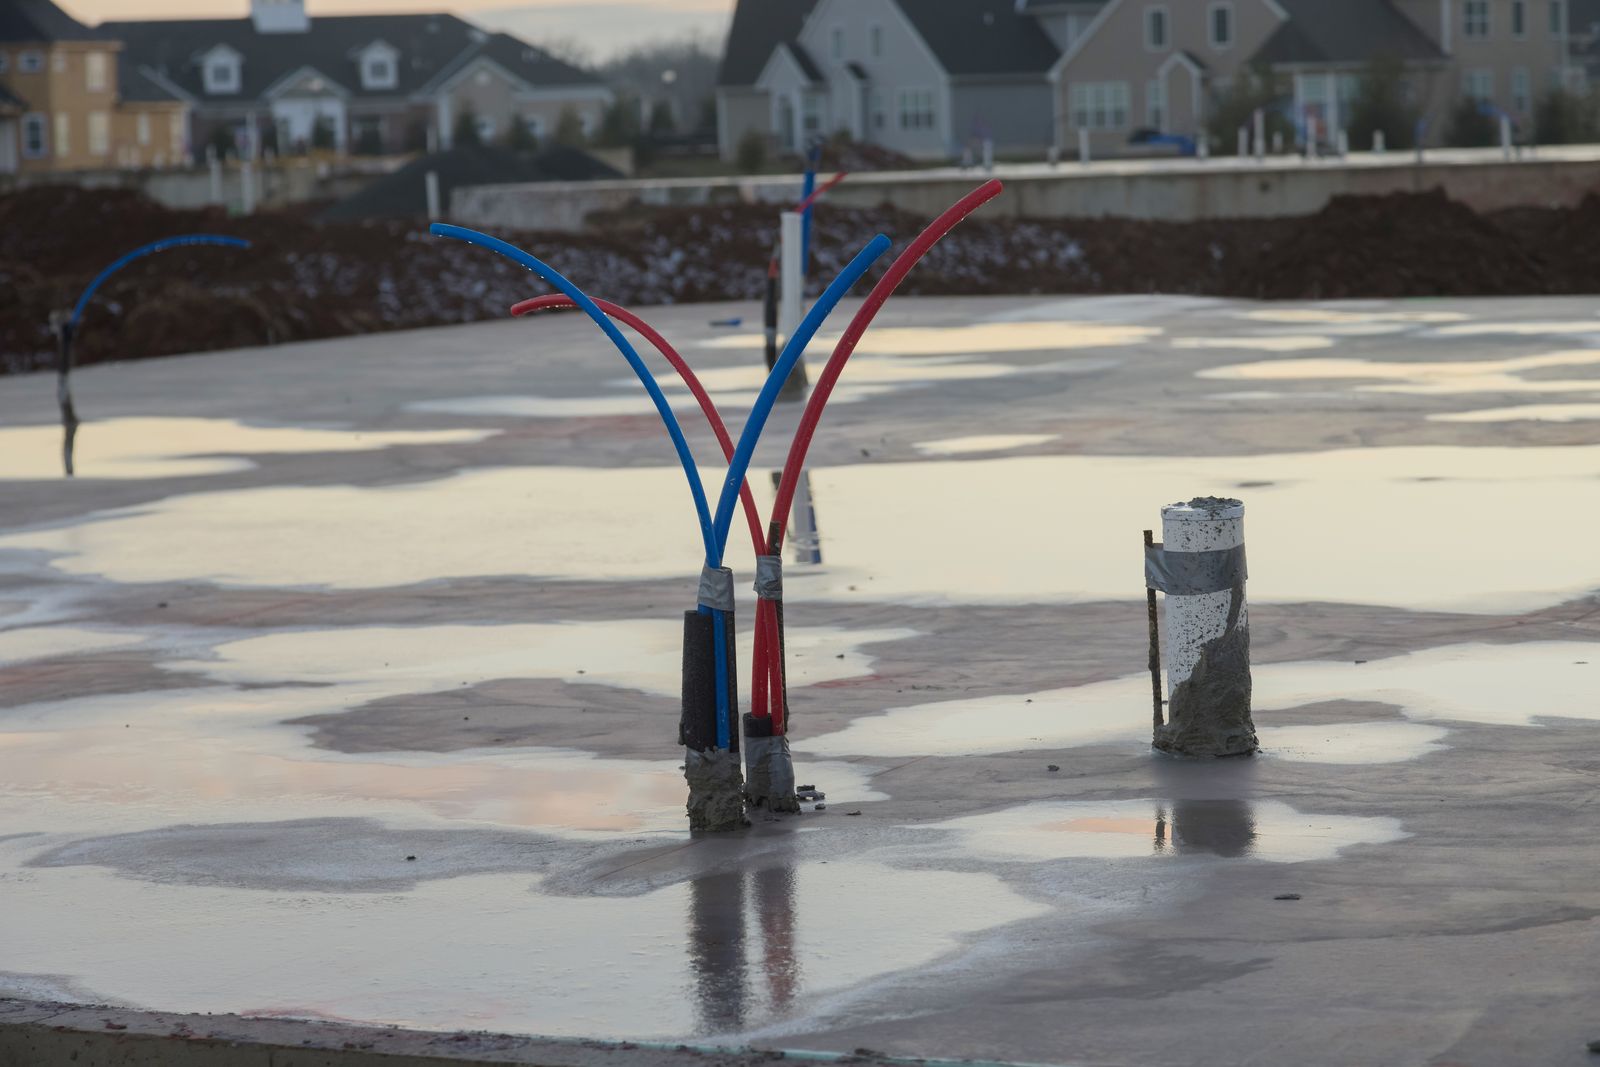
This is where most builders fail. These conduits must be in the slab before concrete day:
- 4" conduit from the meter base to the main panel location
- 2" conduit from the main panel to each sub-panel location
- 1" conduit for future EV charger run to the garage/shop bay
- 1" conduit for future solar inverter connection
- Spare conduits — at least 2 additional 1" runs to the shop for future circuits
Pro tip: Conduit is $2/foot before the pour. After the pour, you're trenching through concrete at $50/foot.
Common Mistakes That Cost Thousands
- Undersized service entrance cable: Running #2/0 aluminum for 200A when you need 400A service
- No dedicated shop sub-panel: Trying to run shop circuits from the house panel 150 feet away
- Missing conduit stubs: Forgetting EV charger, solar, or generator transfer switch locations
- Panel in the wrong location: Mounting on an exterior wall where the post-frame structure has no backing for a heavy panel
Pre-Pour Electrical Checklist
- Service size confirmed with utility company (400A requires coordination)
- All conduit runs stubbed through slab with sweep elbows, not 90s
- Panel locations marked and backing planned in the steel frame
- Transfer switch location identified (even if not installing now)
- EV charger conduit run to at least one bay
- Spare conduits labeled and capped for future expansion
Bottom line: Your electrical panel is the backbone of your barndominium. Undersizing it is the single most expensive retrofit in a metal building — because every wire runs through steel framing and concrete. Plan for 400A, run the conduits before the pour, and you'll never regret having too much capacity.
Panel sizing mistakes are cheap to fix on paper and expensive to fix after the concrete's poured. A design review checks your electrical plan against your real shop and future-load needs before it's locked in.