
Building a barndominium in Canada follows the same nine-step sequence as any rural build, but the order matters more than most owners expect: the decisions that cost the most to fix are locked in early, at the slab. This guide walks the full path from raw land to move-in, and flags where each stage can quietly derail a budget.
The short version: confirm zoning, line up financing, get engineered drawings and permits, do the site work, pour a correctly planned slab, erect the shell, rough in mechanical, then insulate and finish. The slab is the point of no return — everything embedded in it must be right before the concrete truck arrives.
Step 1: Confirm Zoning and Feasibility
Before anything else, confirm the lot allows a residential post-frame or metal building and check setbacks, road access, and any conservation-authority or agricultural-zoning restrictions. Rural zoning trips up more barndominium projects than the building code itself. Verify well and septic feasibility (a percolation test for septic) and confirm hydro distance — a long service run can add tens of thousands.
Step 2: Secure Financing
Not every lender finances barndominiums, so line this up early. New builds typically use a progress-draw construction loan that releases funds at framing, lock-up, and completion. Credit unions and construction-experienced lenders are the most reliable path. See the barndominium financing guide for lenders who fund barn homes and how draws work.
Step 3: Engineering and Permits
Most provinces require stamped engineered drawings (a P.Eng) for post-frame and steel-frame residential buildings — covering structural loads, foundation, and often mechanical. This is not optional; a builder who says engineering isn't required is a red flag. Budget time for zoning review first, then the building permit, septic approval, and (where applicable) an entrance permit. See barndominium permits in Canada.
Step 4: Site Work — Well, Septic, Grading
Excavation, grading, well, septic, and the driveway happen before the slab. This is also where drainage strategy must be designed — perimeter drainage, grade away from the building, and sump location. Fixing drainage after backfill and landscaping costs several times more than doing it during excavation.
Step 5: The Slab — the Point of No Return
Everything embedded in the slab is permanent: plumbing rough-ins, radiant heat loops, electrical conduit, floor drains, and anchor placement. Once concrete is placed, changing any of it means saw-cutting, core-drilling, and re-pouring. This is the single highest-leverage stage of the entire build — read the dedicated guide on barndominium concrete slab design, and treat the pour date as fixed only once every embedded system is confirmed.
Step 6: Shell Erection
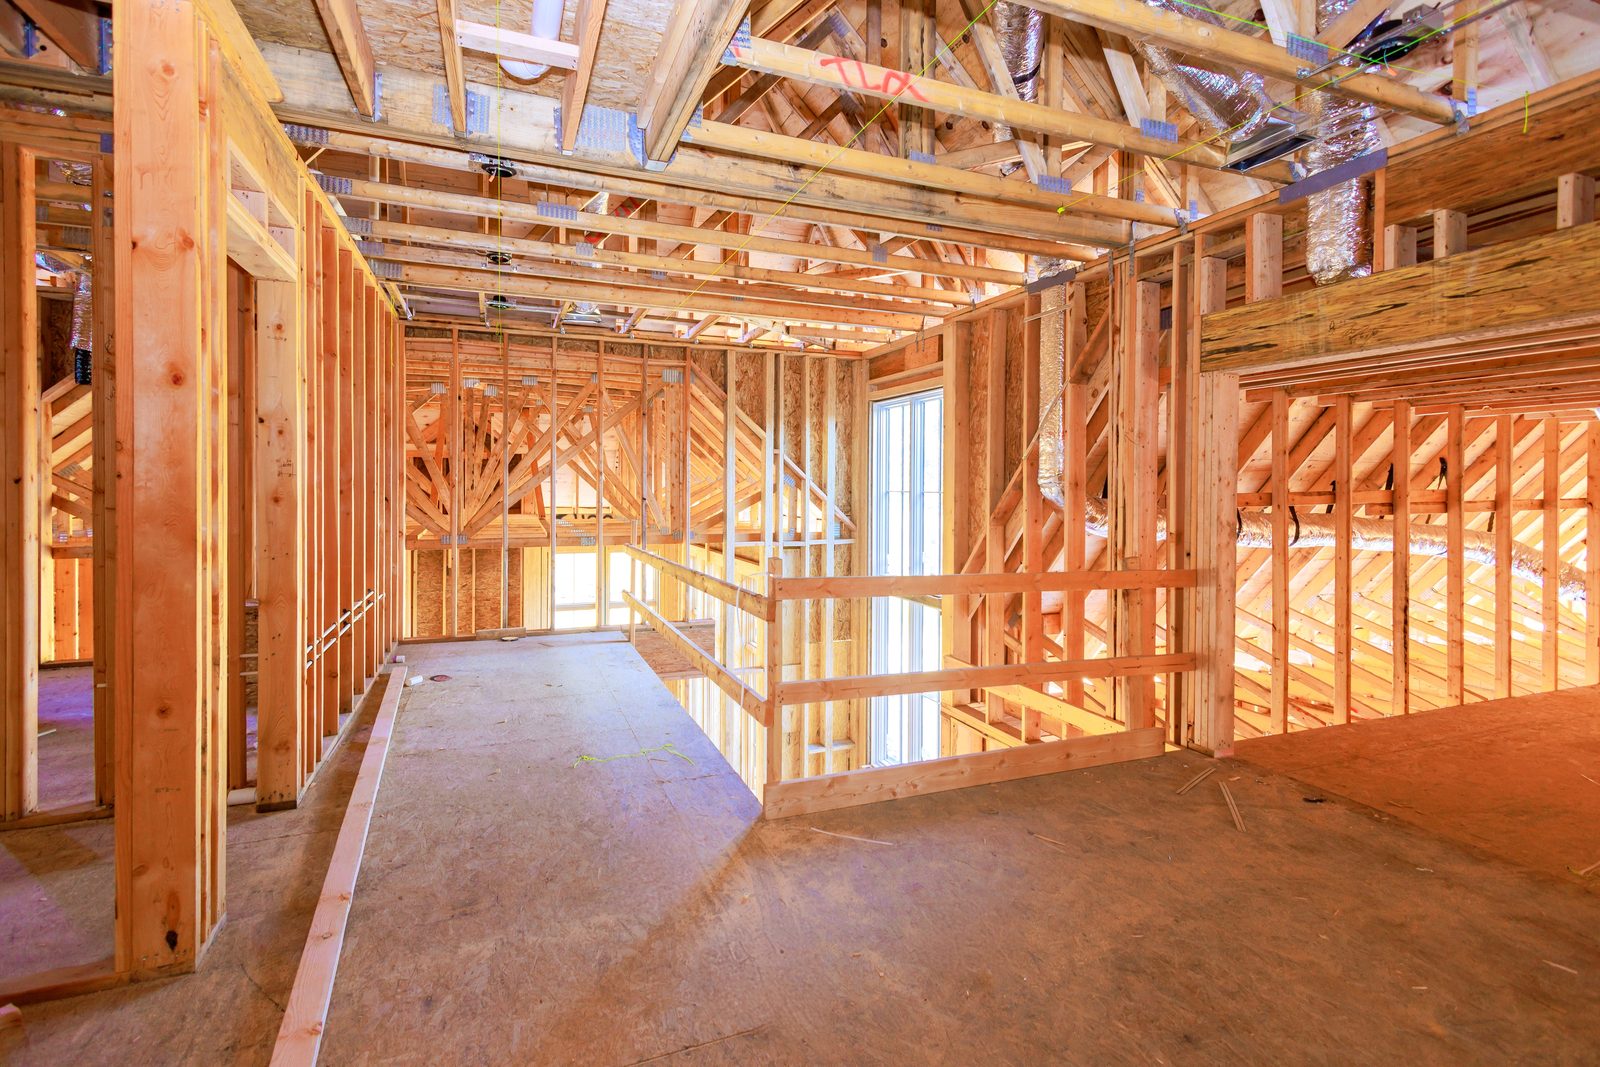
Post-frame goes up fast — the structure, roof, and cladding can be enclosed in days once the slab has cured. Column spacing, girt and purlin layout, and cladding attachment all affect how interior framing, insulation, and mechanical routing work later, so coordinate them with the shell supplier rather than treating the shell as a separate silo.
Step 7: Mechanical Rough-In
With the shell enclosed, HVAC, plumbing, and electrical rough-in begins. For a metal-clad barndominium this is where envelope decisions get real: hybrid heating (radiant plus a heat pump or furnace), HRV/ERV ventilation, and careful zone mapping so shop air never mixes with living air. HVAC should be sized with a Manual J specific to your envelope — generic sizing overshoots a spray-foamed metal building.
Step 8: Insulation, Interior, and Finishes
Metal buildings need a deliberate vapour and air-barrier strategy to prevent condensation, so insulation placement is verified before drywall. From there it's interior framing, drywall, kitchen and baths, flooring, and trim — the largest share of the finished cost and where finish level swings the budget most.
Step 9: Commissioning and Occupancy
Before occupancy, commission every mechanical system — verify the heating, ventilation, well pump, and septic perform as designed — and assemble maintenance schedules and warranty documentation. A final walkthrough with your builder against a checklist catches the small misses that become callbacks.
How Long Does It Take?
A typical full build runs 6–12 months from permit to occupancy: site work and slab in the first 4–8 weeks, fast shell erection, then mechanical, insulation, and finishing carrying the balance. Planning quality — not construction speed — is what determines whether the timeline holds.
Frequently Asked Questions
What is the first step to building a barndominium in Canada?
Confirm zoning and feasibility for the lot — that a residential post-frame or metal building is permitted, plus well/septic feasibility and hydro access — before spending on design or engineering.
Do I need engineered drawings for a barndominium?
Yes. Most Canadian provinces require stamped drawings from a licensed Professional Engineer for post-frame and steel-frame residential buildings, covering structural, foundation, and often mechanical design.
Can I build a barndominium myself?
Owner-builders can manage the project and do some work, but you still need licensed trades for electrical, plumbing, and HVAC, and a professionally engineered slab. The IronField planning system is built specifically to help owner-builders coordinate the sequence.
How long does it take to build a barndominium?
Usually 6–12 months from permit to move-in. The shell goes up in days; site work, mechanical, and interior finishing take the rest.
The slab is where builds go wrong — plan it first. Start with the free pre-pour checklist, estimate your build with the cost estimator, and when you're ready, unlock the full 525+ item system for $79 →
Once your plans are ready, browse vetted builders and suppliers to get real quotes.