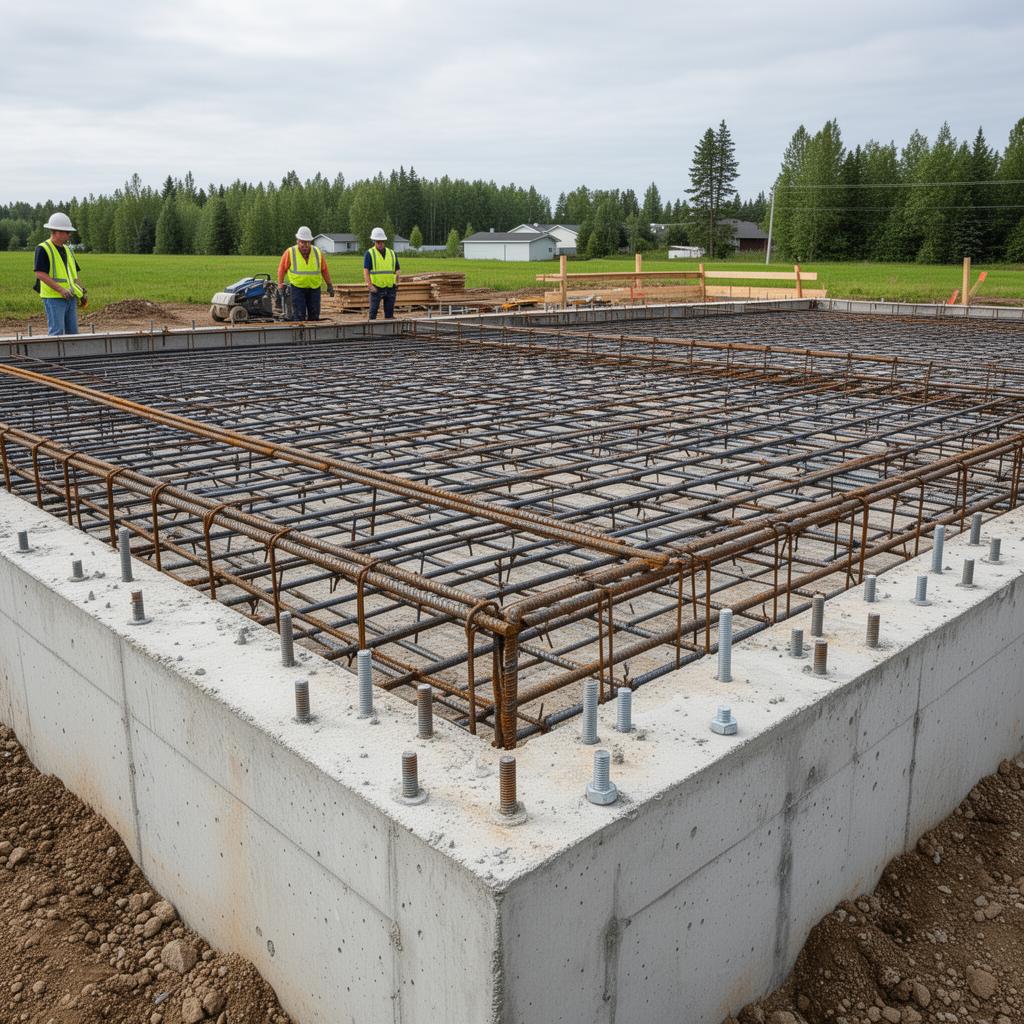
A barndominium slab is the one part of the build you cannot change after the fact. Every plumbing rough-in, radiant heat loop, electrical conduit, floor drain, and anchor bolt is permanent the moment concrete is placed — which is why slab design, not the metal building, is where most rural build budgets are won or lost.
This guide covers how to design a barndominium slab in Canada: slab types, thickness and reinforcement, radiant heat, drainage and moisture control, and the pre-pour checklist that has to be signed off before the pour date is even set.
Why the Slab Is the Point of No Return
Unlike a basement or crawlspace, a slab-on-grade barndominium has no access underneath. Anything that needs to be in the floor has to be placed, inspected, and pressure-tested before the pour. Fixing a mistake afterward means saw-cutting concrete, re-grading, and re-pouring — routinely $8,000–$25,000 for a single misplaced drain, versus almost nothing to plan it correctly up front. The slab is the highest-leverage decision in the entire build.
Slab Types for Barndominiums
Three approaches are common in Canadian barndominiums:
- Slab-on-grade (thickened-edge / monolithic): the slab and its perimeter footing are poured together. Common, cost-effective, and well suited to post-frame construction.
- Frost-protected shallow foundation (FPSF): rigid insulation manages frost instead of deep footings — useful in cold climates to reduce excavation.
- Slab with separate footings / grade beam: used where soil, loads, or column placement demand engineered footings under the posts.
Your engineer selects the type based on soil, frost depth, and load — but the embedded systems below apply to all of them.
How Thick Should a Barndominium Slab Be?
A typical barndominium slab is 4 inches in living areas and 5–6 inches in shop bays that carry vehicles or equipment, with thickened edges or footings at post locations per the engineered drawings. Reinforcement (rebar or engineered fibre mix) and control-joint layout are specified by the engineer for your loads and soil. Thickness is the easy part; what goes inside the slab is where the money and the mistakes are.
What Must Be Planned Before the Pour
This is the core of slab design — every one of these must be located, installed, and verified before concrete:
- Plumbing rough-ins: all below-slab drains, supply lines, and sleeves, with slope confirmed and cleanout access planned.
- Radiant heat loops: tubing layout, manifold locations, zoning, and a pressure test held during the pour.
- Electrical conduit: power and low-voltage pathways, including future runs to the shop.
- Floor drains and trench drains: especially in shop bays, with correct slope to the drain.
- Anchor bolts / hold-downs: placed to the post-frame connection plan.
- Vapour barrier and under-slab insulation: correct placement before the pour (see below).
Missing any one of these is the classic barndominium overrun. The IronField pre-pour checklist walks every item on this list phase by phase — see also slab-on-grade mistakes.
Radiant Floor Heat in the Slab
In-floor radiant is one of the best features of a barndominium — and one of the least forgiving. Tubing must be laid on insulation, tied down, zoned, and connected to a manifold, then pressure-tested and left under pressure through the pour so a puncture is caught immediately. It cannot be added later. Plan loop spacing and zoning against your final floor plan, not a draft — a moved wall can strand a zone. More on the mechanical side in radiant floor heating for barndominiums.
Drainage, Vapour Barrier, and Insulation
Below and around the slab, three things protect it for the life of the building:
- Under-slab vapour barrier: a continuous poly membrane under the slab (and correctly lapped) stops ground moisture from wicking up — critical in a metal-clad building where condensation is already a risk. See barndominium ventilation.
- Under-slab insulation: rigid foam under the slab and at the edges, essential where radiant heat is embedded so heat drives up, not down.
- Perimeter drainage and grade: weeping tile and positive grade away from the slab edge, designed during excavation — not after landscaping.
The Pre-Pour Walkthrough
Before the truck is scheduled, walk the slab with your contractor and engineer against a written checklist: every drain located and sloped, radiant pressure-tested, conduit stubbed, anchors placed, vapour barrier continuous, and insulation in. Sign off only when every embedded system is confirmed. This one walkthrough prevents the most expensive category of barndominium rework.
Frequently Asked Questions
How thick should a barndominium slab be?
Typically 4 inches in living areas and 5–6 inches in shop bays carrying vehicles or equipment, with thickened edges or footings at post locations per the engineered drawings.
What has to be done before pouring a barndominium slab?
All below-slab plumbing, radiant tubing (pressure-tested), electrical conduit, floor drains, anchor bolts, the vapour barrier, and under-slab insulation must be installed and verified. Nothing embedded in the slab can be changed after the pour.
Can you add radiant floor heat to a barndominium after the slab is poured?
No. Radiant tubing is embedded in the slab and must be installed before the pour. Adding it later means an overlay pour or surface systems, which is far more expensive and less effective.
Do you need insulation under a barndominium slab?
Yes, especially with radiant heat — rigid foam under and around the slab drives heat upward and reduces heat loss to the ground. It's a pre-pour decision that can't be retrofitted.
Get the slab right the first time. The IronField pre-pour checklist maps every embedded system before concrete day. Unlock the full 525+ item planning system for $79 →
Getting the slab drawings right the first time is exactly what an IronField design review is for — a second set of eyes on your plans before the pour, from someone who's coordinated these systems on a real build.